
I’ve been trying to get my vegetable garden going for a few years now with limited success. My main problem has been watering them at the appropriate times. I tried a water timer but did not satisfy need for better automation. So this is a story of my journey to smarter water automation :)
-
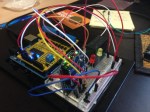
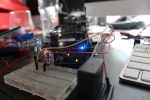
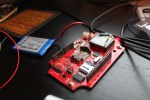
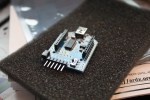
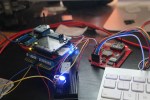
- Left – Freetronics relay shield. Testing Xbee serial commands to turn relay on
-
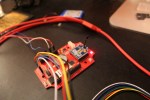
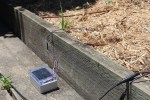
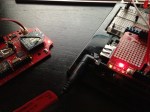
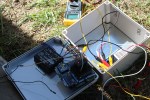
- Testing setup in the field
-
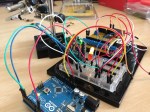
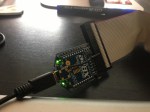
- Testing relay controls
-
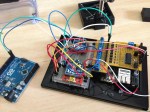
- Testing Xbee to Xbee comms
-
- Cool shot :D
-

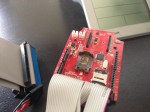
- Testing relay controls
-
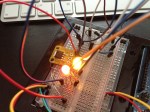
- Testing relay controls
-
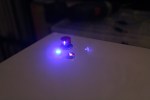
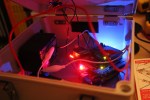
- Status LED
-

- Dark Side of the force…
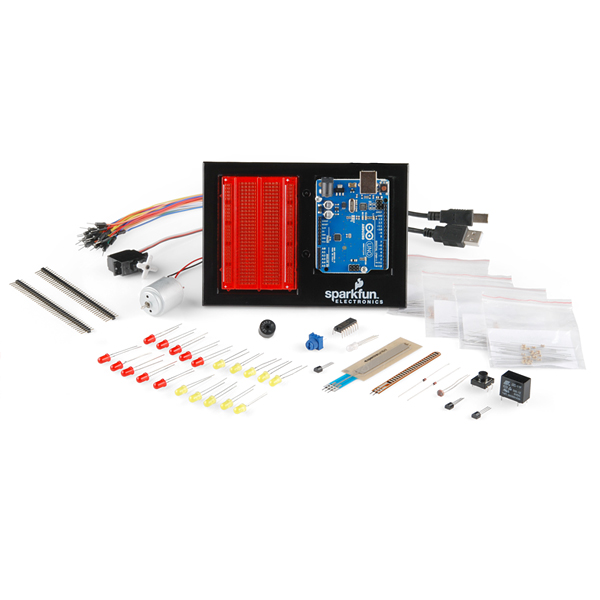
I’ve always had a fascination of physical computing. Having a programming history I’ve always liked creating new things but taking that and controlling real world objects got me excited. I started doing some research and found a device called an Arduino. An Arduino is a micro controller that lets you control other devices, physical and digital. I started with the Sparkfun’s inventors kit. It has the basics to get you going.. like blinking leds, simple relay control, etc.
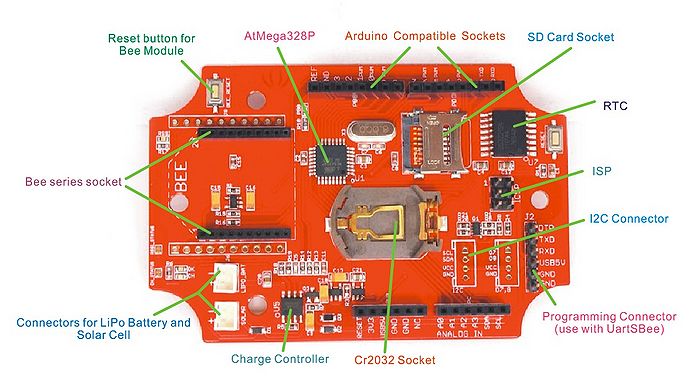
This sparked my imagination and started getting some ideas on what I can use this for. I had a few ideas but thats for another post :) My main idea was the have some sensors in the garden that would detect when the plants need more water. After a tonne of research I started to look into the Xbee’s. These are designed for point-to-point and point-to-multipoint communications. They are designed for very low power consumption and can be made into a mesh network. 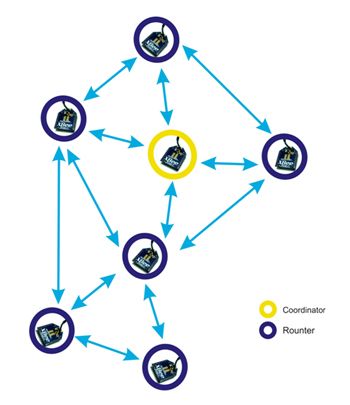 I also decided early on that I wanted the project to be solar powered. So I went with the Seeeduino Stalker. It has input for a solar panel and battery power. Well suited for what I want to use it for. You can buy the water proof kit as a pack. It works out alot cheaper and you will need the battery, solar and UartSBee to interface with the board.
-

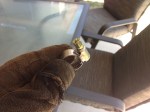
- Testing moisture sensor code with galvanised nails while I wait for a my proper moisture sensor
-
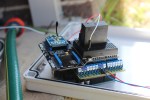
- Seeduino Stalker
-
- Interfacing…
-
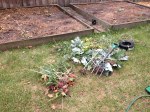
- Garden test
-
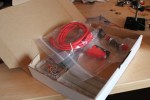
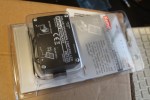
- Presents!
-

- Electric Imp

-

- Testing the moisture sensor code
-
- All out, all change..
-
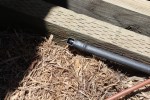
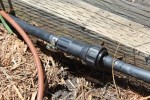
- Changing to drip line irrigation

-
- Clips for the joint on the irrigation joints
-
- End Connector
-
- Hard at work
-

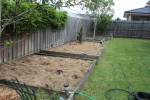
- Under Construction
I highly recommend if you use Xbee’s to read ‘Building Wireless Sensor Networks’. Will step you through the process of setting up / pairing the devices as it is quite involved to get them talking. 
Very early relay control test
They worked pretty well, but while I waited for them to arrive (I got a little impatient), I bought another solenoid valve which was little more robust but is 24v. This introduced a new problem as my battery I was planning to use is 12v. I did some research into making a booster and decided to use a off the shelf product as my electrical skills were still quite limited.
-

- Solar Charge, Booster
-
- Solar Charger Controller
-

- Booster
-
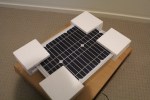
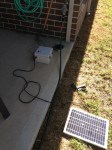
- Solar Panel
-
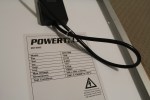
- Solar Panel specs
-
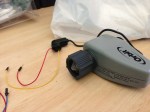
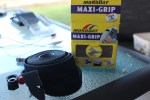
- Orbital latching solenoid
-

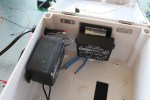
- Battery and Charge Controller
-
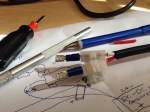
- Terminals
-
- UartBee
-
- Innterrrfacing
-
- Testing
-
- Stalker being programmed
I started looking at ways to control the relay without a massive breadboard or prototype shield. There are quite a few relay shields around and was looking at the Freetronics relay shield. A friend of mine was using one successful so I decided to give that one shot. The code is provided and works as described.
-
- Testing LED status functions
-
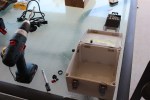
- Drilling holes for LED and cables
-
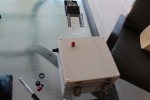
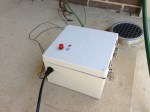
- Power button and external cable in place
-
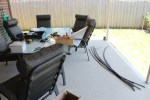
- Testing setup in the field
-
- Under Construction
-

- Testing setup
-
- Close to final setup
-
- Testing final setup
-
- Garden test
-
- Inline filter
-

- Flush Valve
-
- More testing :)
-
- Solar Panel
-
- Used for holding the gear in place
I also used the Freetronics terminal shield as it made it easier to run the VIN, Gnd and digital pin connections with all the shields in play.
-
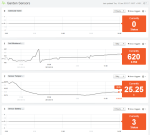
- Cosm.com feed detail
-

- Cosm Feed overview
-
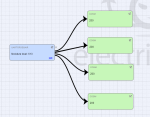
- Electricimp planner
-
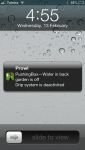
- PushingBox alert – Water off
-
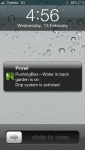
- PushingBox alert – Water on
-

- Twitter feed / update
Tools
- 1 x Soldering Iron
- 1 x Solder
- 1 x Pliers
- 1 x Screwdrivers
- 1 x Power drill
- 1 x Electrical tape
- 10 x Ali gator clips
Irrigation
- X x Irrigation pipes (depending on how big your irrigation system will be)
- 1 x Pressure reducer (100psi)
- 1 x Flow back valve
- 1 x Pluming tape
- 1 x Inline filter
- 1 x Inline flush valve
- Sleep / power saving mode for the Arduino’s’ (Currently working on this)
- Create a mount for the solar panels to track the suns path throughout the day
- Wall mount the enclosure
- Could try and slim down the unit by making the controller setup run off mains power.
- Start simple and work your way up
- Never put + on a – terminal or – on a + on a 12v battery (or in general). I did this by accident and melted the cabled :)
- Do a heap of research before you start. Ask questions to the community if you get stuck
- If something simple is not working, then double check your connections
- If you are using shields or 3rd party Arduino boards, check the default pins they use. I learnt this the hard way and spent LOTS of hrs trying to figure out why something wasn’t working as expected.
- Check the voltage requirements of components. Seeedstudio stalker is 3.3v
- Version control your code. Back it up :)
- Chunk the work into small components. That way it doesn’t feel un-achievable
Links


Awesome work :)
this is awesome Ed. Will copy some ideas.